

Before you begin: confirm API access is active
The Public API is included with the current Pro plan. If you’re on a legacy Pro plan (an older Pro subscription), API access is not included by default — you’ll need to either upgrade to the current Pro plan or add the $25/month Public API add-on.API keys
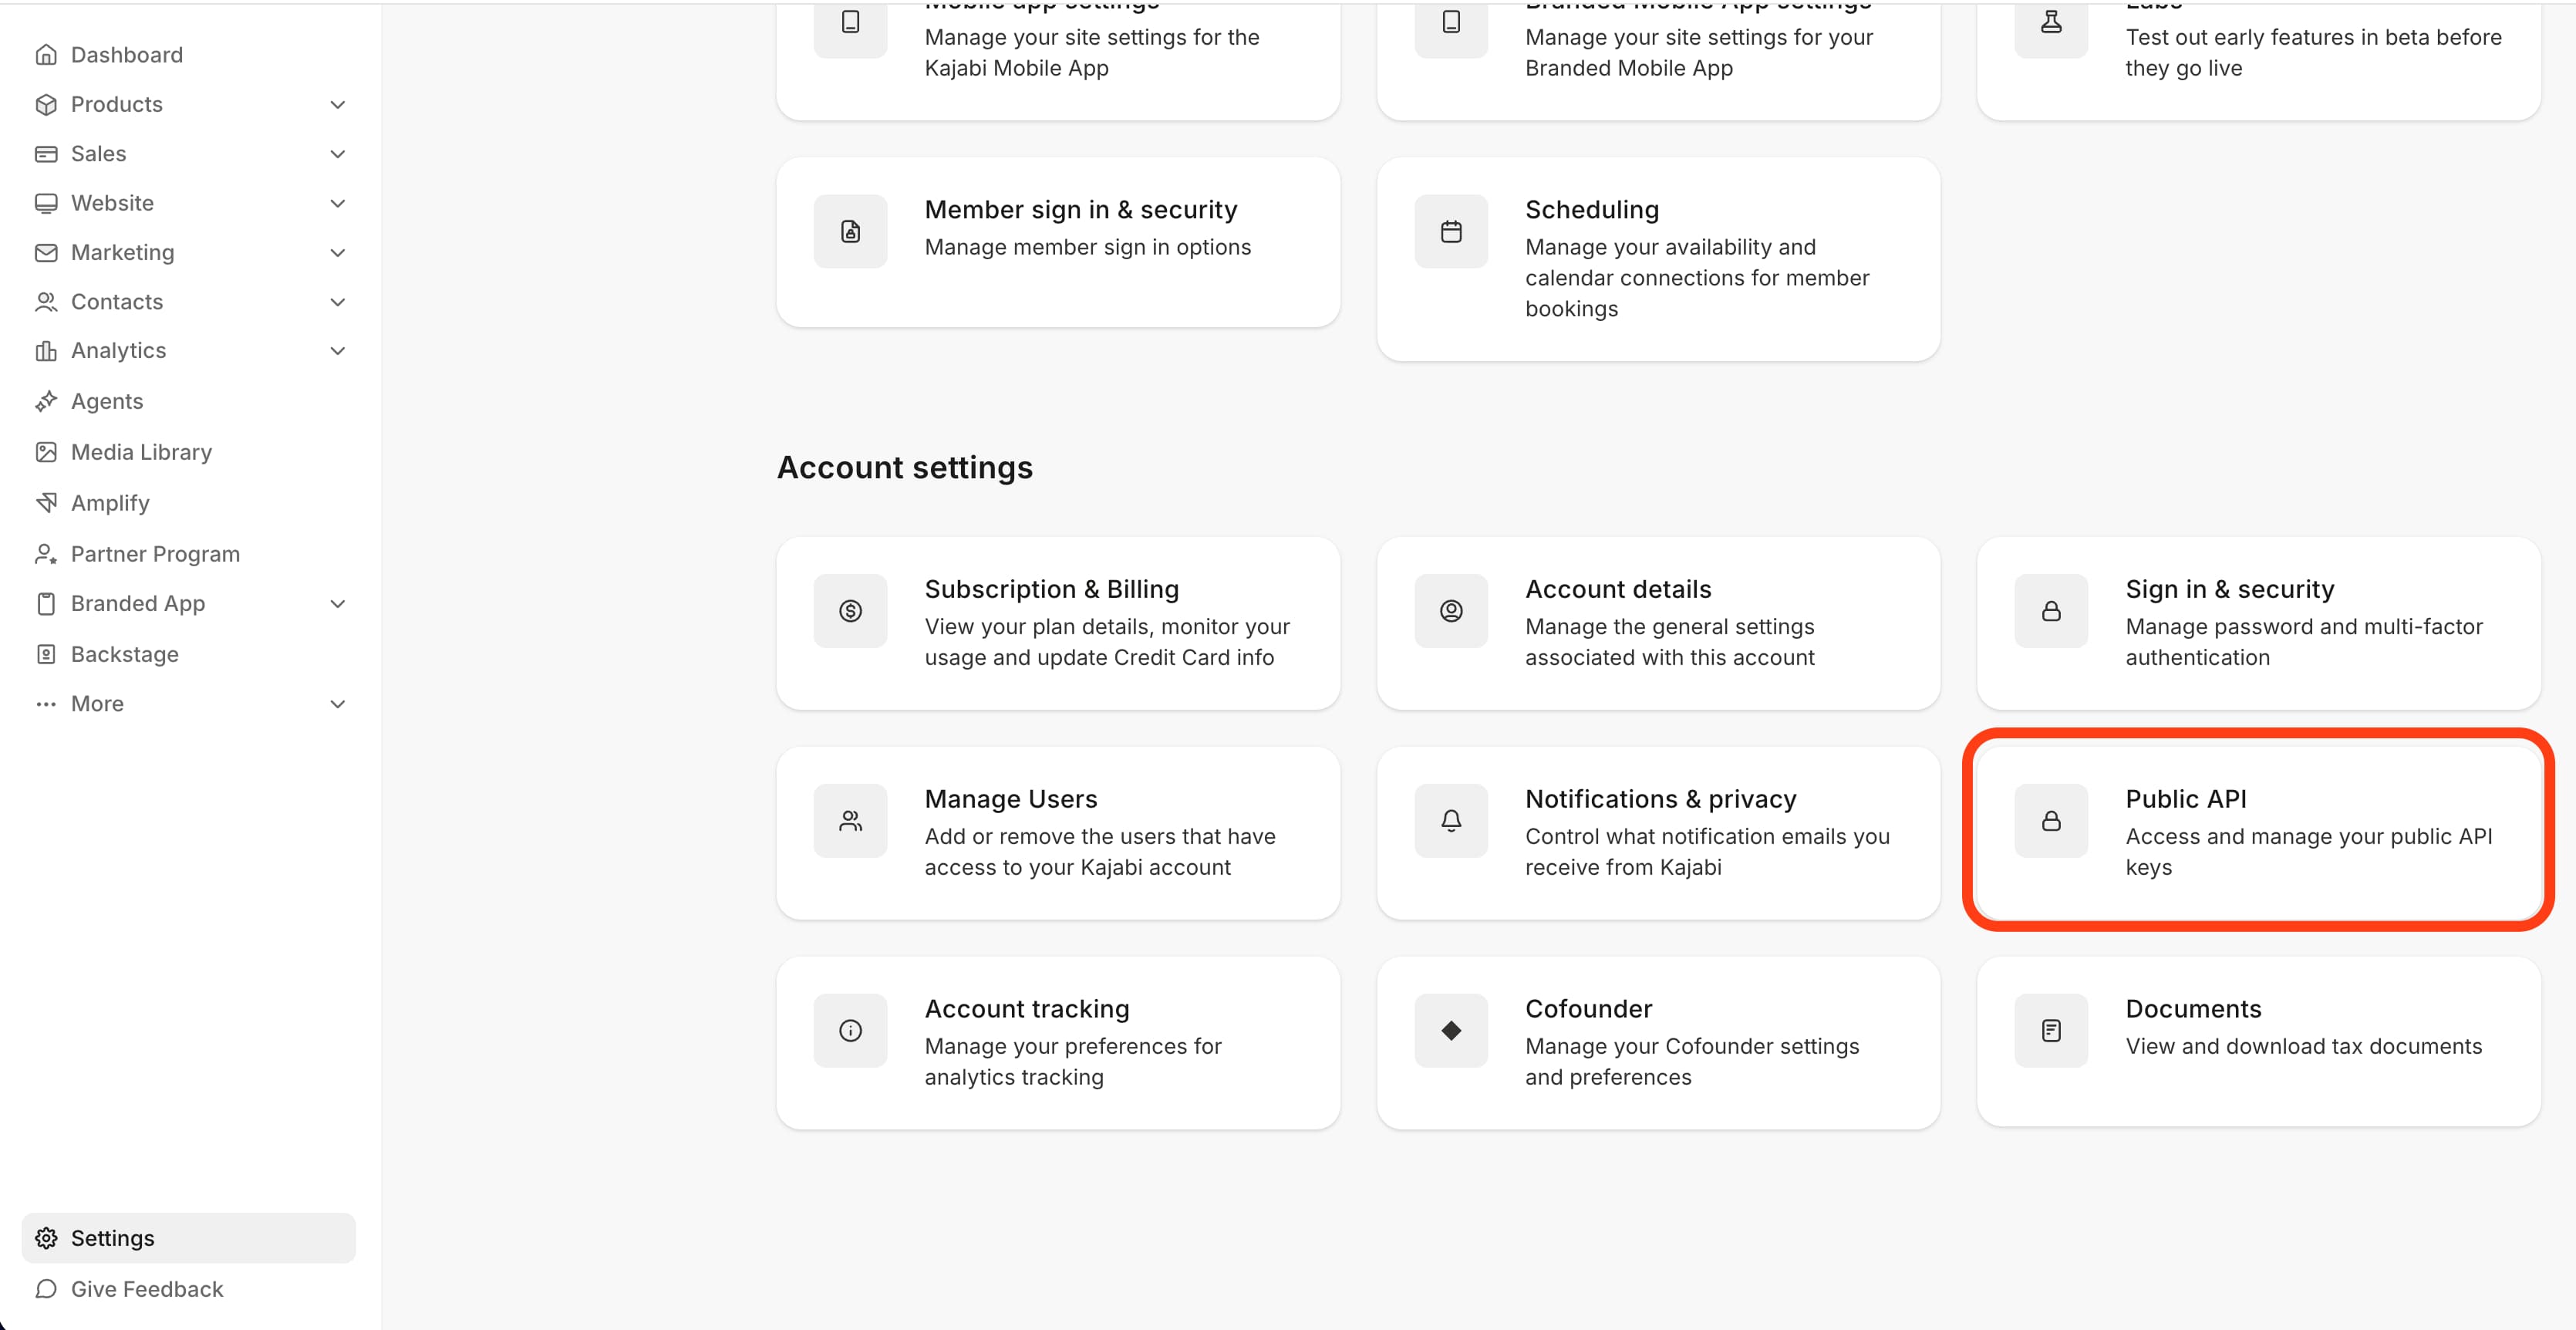
To create an API key:- From the Kajabi Dashboard, go to Settings > Public API (under Account Settings)
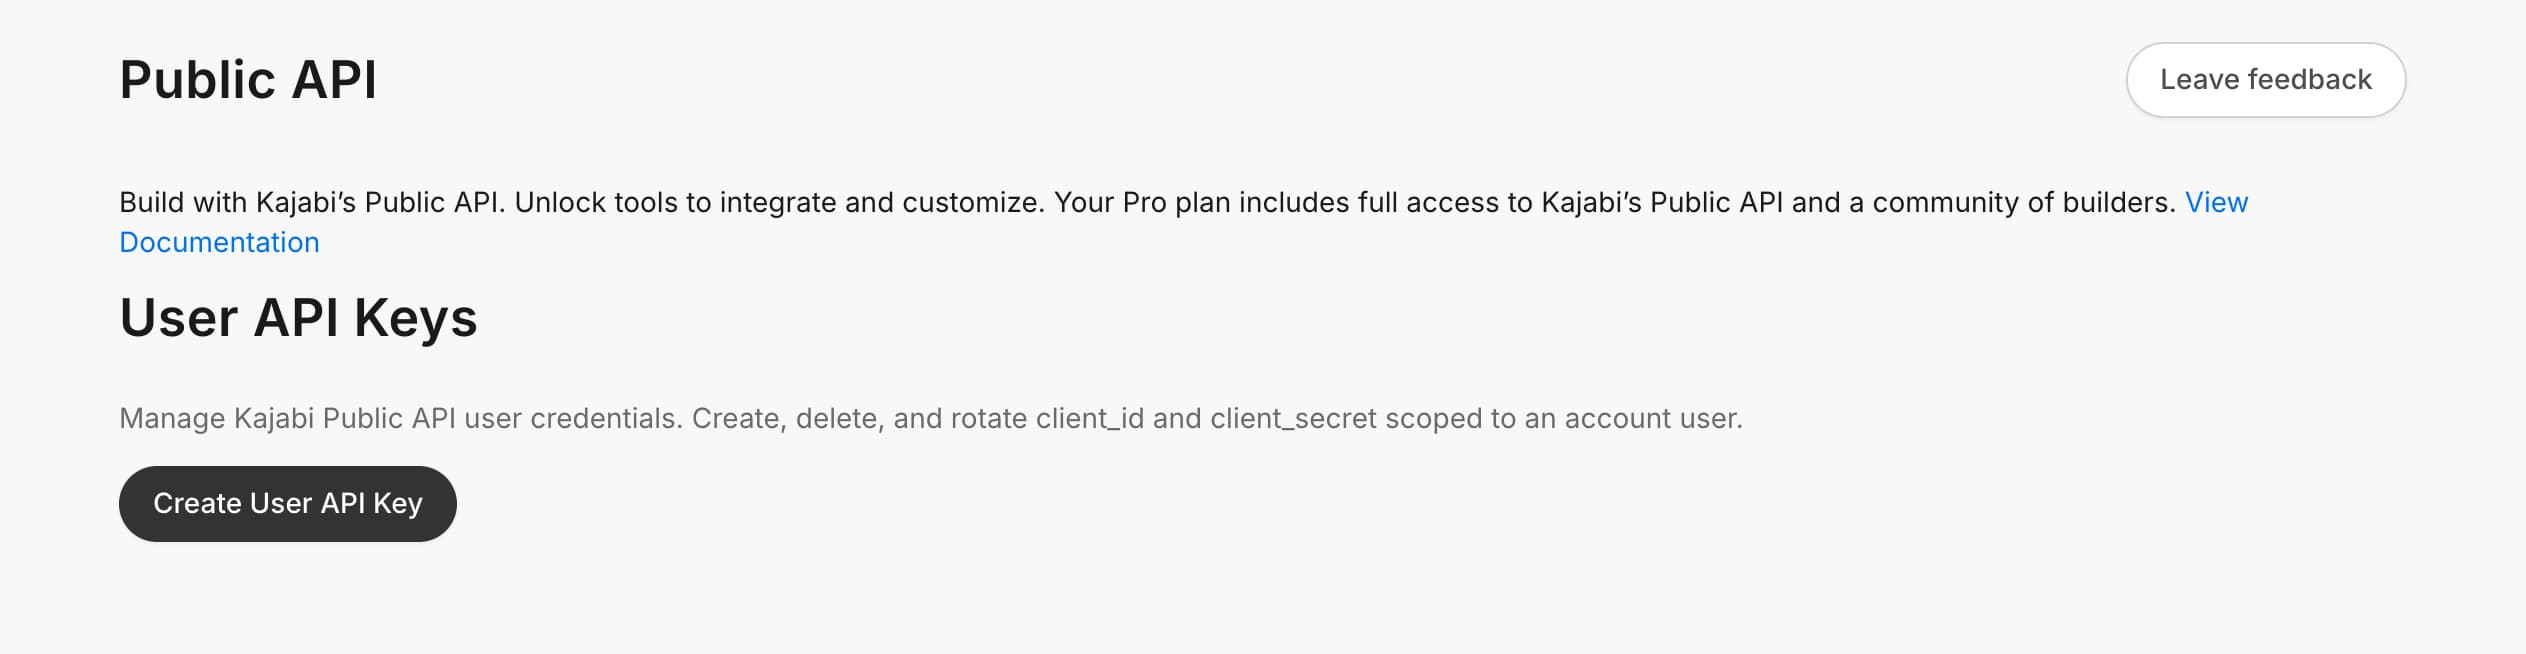
- Click Create User API Key.
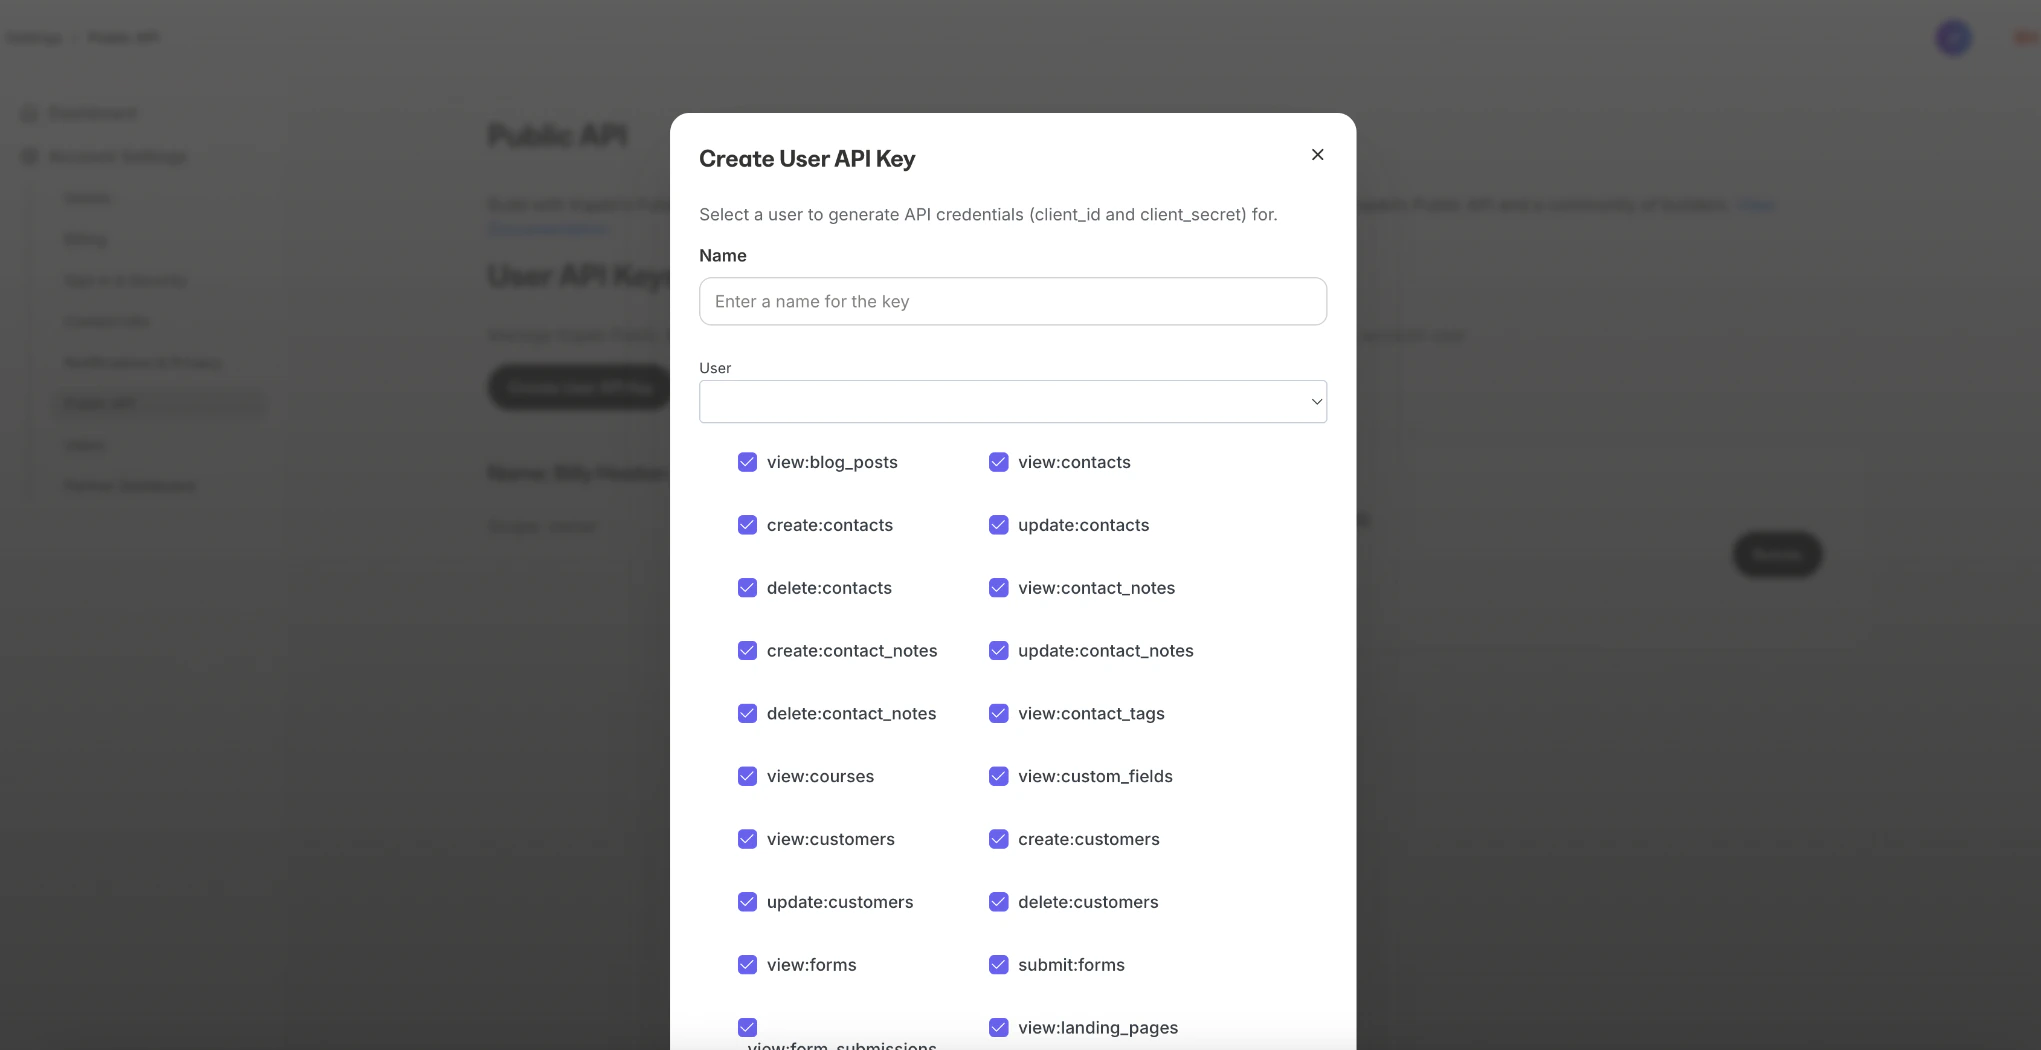
- Enter a name for your key.
- Select the account user and permissions.
- Click Create.
Note: For security purposes, you may “Delete” or “Rotate” the API credentials at any time. This will invalidate any access tokens granted with those credentials.
Using Zapier or a third-party integration
The credentials created here (OAuth client ID and client secret) are for the Kajabi Public API and are not the same as the API Key and API Secret used for Zapier and other native integrations. If you’re connecting Kajabi to Zapier, see Locate the Kajabi API key and API secret instead.API limits and availability
- Rate limits: The Kajabi Public API enforces rate limits to protect platform stability. For current rate limit values, refer to the API documentation or contact Kajabi Support.
- Data availability: Not all data visible in your Kajabi dashboard is available via the Public API. If a specific field or metric you need is absent from the API reference, it is not currently exposed via the API — please submit a feature request through the feedback portal.
- IP allowlisting: Kajabi does not currently publish an IP allowlist for API access. If your environment requires allowlisting, contact support for current guidance.
Webhooks vs. Public API: which do you need?
Learn how to use Webhooks with Kajabi
Troubleshooting authentication errors
If you receive a 401 Unauthorized or 403 Forbidden error after generating a token:- Check key permissions: When creating your API key, you must explicitly select the permission scopes your integration needs. A token generated from a key with insufficient scopes will be rejected on protected endpoints even if the token itself is valid. Delete and recreate the key with the correct permissions.
- Confirm access is active: If API access was recently enabled on your account, allow up to 10 minutes for the change to propagate before testing.
- Check your request headers: Ensure you’re passing the token as a Bearer token in the Authorization header — not as a query parameter.