


Do it in Cofounder
Customize a checkout page using Cofounder! Open Cofounder or the diamond icon in the top right of your Kajabi Dashboard, copy and paste the prompt below in the text box, and hit Enter.
Learn more about Cofounder.
Learn more about Cofounder.
Add a testimonial to the checkout page for [my Offer] to build trust before someone buys.Set where customers land after they buy [my Offer] and explain the options.
Before you begin
- Create the Offer you want to customize. Learn how to create an Offer
- Check which checkout the Offer uses, because the steps differ. You will find it on the Offer’s Settings tab under Checkout template.
- Offers sold through a partner platform cannot be edited in Kajabi, so their checkout pages cannot be customized either.
Identify which checkout an Offer uses
- From your Dashboard, go to Sales > Pricing.
- Select the Offer you want to check.
- Open the Settings tab and find Checkout template.
Customize an Enhanced Checkout page
Enhanced Checkout pages are built from theme sections, so you add, remove, and reorder sections rather than filling in a fixed set of fields.- From your Dashboard, go to Sales > Pricing.
- Select the Offer you want to customize.
-
Click Edit checkout to open the builder.
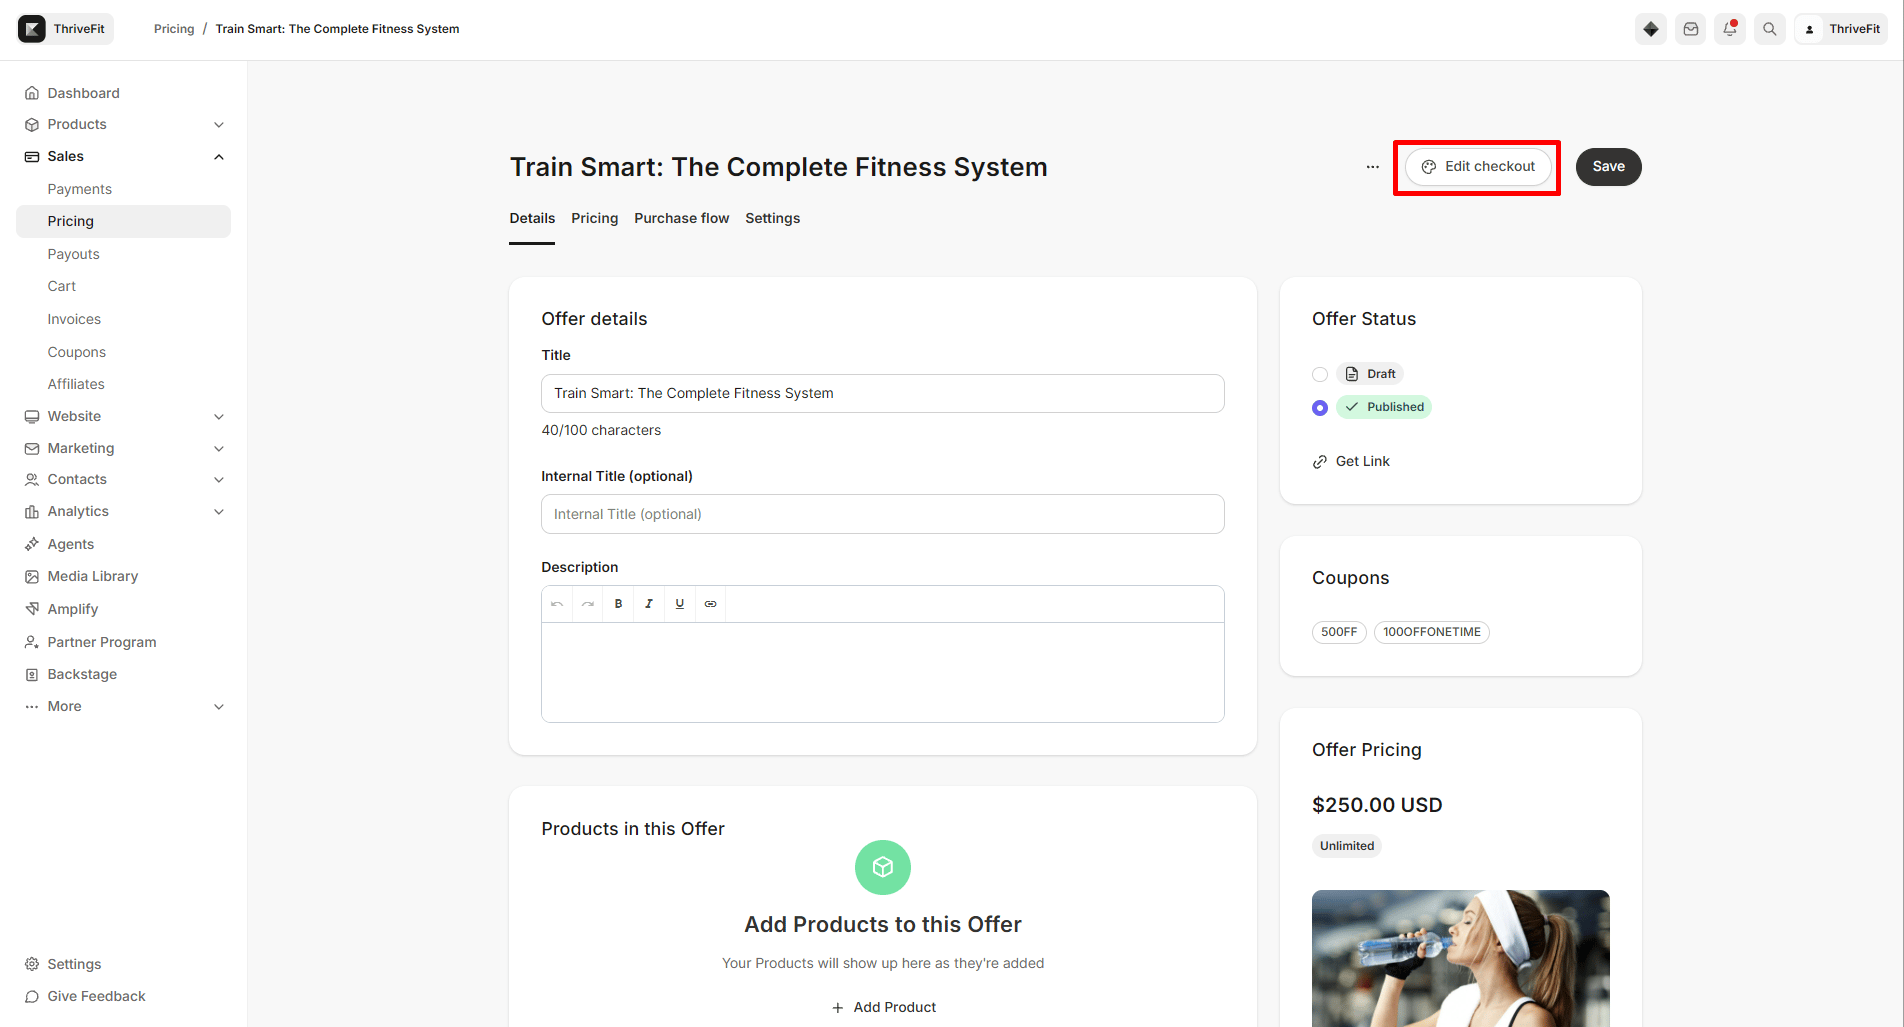
- Use the Sections tab to add, reorder, or hide sections. The Checkout section is the form itself, and Header and Footer wrap around it.
- Use the Settings tab for the settings that apply to the whole template.
- Save your changes in the builder.
Customize a legacy checkout page
- From your Dashboard, go to Sales > Pricing.
- Select the Offer you want to customize.
- Click Edit checkout to open the Customize checkout panel.
- In Page content, set the text and media customers see:
- Offer title: a short, descriptive title for the Offer.
- Checkout description: what the customer is buying, with rich text formatting.
- Video: click Add Video to upload a video or choose one you have already uploaded.
- Hero image
- Testimonials: click Add a testimonial, then fill in Author and Quote.
- In Design, turn on Enable banner to show a Banner image, adjust Banner image height, and add your Logo.
- In Additional settings, choose a Mobile layout: Checkout form on top or Checkout form on bottom.
- Click Save.
Collect information at checkout
Checkout fields live on the Offer rather than in either checkout editor.- From your Dashboard, go to Sales > Pricing.
- Select the Offer you want to customize.
- Open the Settings tab and find Checkout fields.
- Select the information to collect: Name, Phone number, Address, or Tax ID.
- To collect anything else, click Add custom field and choose one of your site’s existing fields.
- Drag the fields into the order you want them to appear in.
- Click Save.
Note: Your site can hold up to 150 custom fields with 100 active at a time. Some plans are limited to 75 custom fields with 50 active.
Coupon codes on the checkout page
The coupon field appears on your checkout page on its own. There is no toggle for it in Offer settings or in either checkout editor. It appears when any of these is true:- An active coupon is attached to the Offer.
- Your site has an active coupon set to apply to all Offers, even when nothing is attached to this Offer.
- The Offer is enabled for affiliates and your site has affiliate coupon codes turned on.
Choose where customers land after purchase
- From your Dashboard, go to Sales > Pricing.
- Select the Offer you want to customize, which opens the Details tab.
- Find Post-purchase and choose one option:
- Member’s Product Library: sends customers to the products they now own.
- Custom Thank You Page: write your own message in the Body field.
- Existing Landing Page: choose a Landing Page you have already built.
- Click Save.
Customize the checkout page link
A Kajabi checkout link looks likehttps://yoursite.com/offers/xY7bQ2mn/checkout. Kajabi generates the xY7bQ2mn part as a random eight-character code for each Offer, and there is no setting to rename it. What you can change is the domain it sits on and the page the checkout appears on.
Use your own domain
Connect a custom domain and your checkout runs on it, so customers seehttps://yourbrand.com/offers/xY7bQ2mn/checkout instead of your Kajabi subdomain. Learn how to connect a custom domain
Put a checkout on a page you name
Add a checkout block to a Landing Page or a website page, then set that page’s URL yourself. This gets you closest to a fully custom checkout link, because you choose the whole path. Learn more about Enhanced CheckoutOpen checkout in a popup
Trigger a popup checkout from a button or link on any page. The customer never leaves the page, so the URL they see stays your own. Learn about popup checkoutShorten a checkout link
When you need something short enough to say out loud or to fit a character limit, a URL shortener such as Bitly gives you a custom back half.- Copy your Offer’s checkout link from Kajabi. Learn how to copy a checkout page link
- Go to Bitly and create a free account.
- Paste the checkout link and customize the back half of the link.
- Save and share your shortened link.
Note: Kajabi still counts clicks on a shortened link in your email reports, but records them against the shortened URL rather than your checkout link, so several shortened links are hard to tell apart. Shortener links also count as one signal in Kajabi’s spam and phishing checks, so use your full checkout link in broadcasts where you can.